Blog
How to Install and Customize a WordPress Theme: Step-by-Step Guide
How to Install and Customize a WordPress Theme
Installing a WordPress theme is one of the first steps in building your website. Whether you are using a free WordPress.org theme or a premium GPL theme from AllWin Theme, the process is straightforward.
Step 1: Download Your Theme
Browse our collection of GPL WordPress themes and download your chosen theme package. Most themes come as a .zip file.
Step 2: Install via WordPress Admin
- Log in to your WordPress dashboard
- Go to Appearance > Themes
- Click Add New > Upload Theme
- Select the .zip file and click Install Now
- Click Activate to apply the theme
Step 3: Customize Your Theme
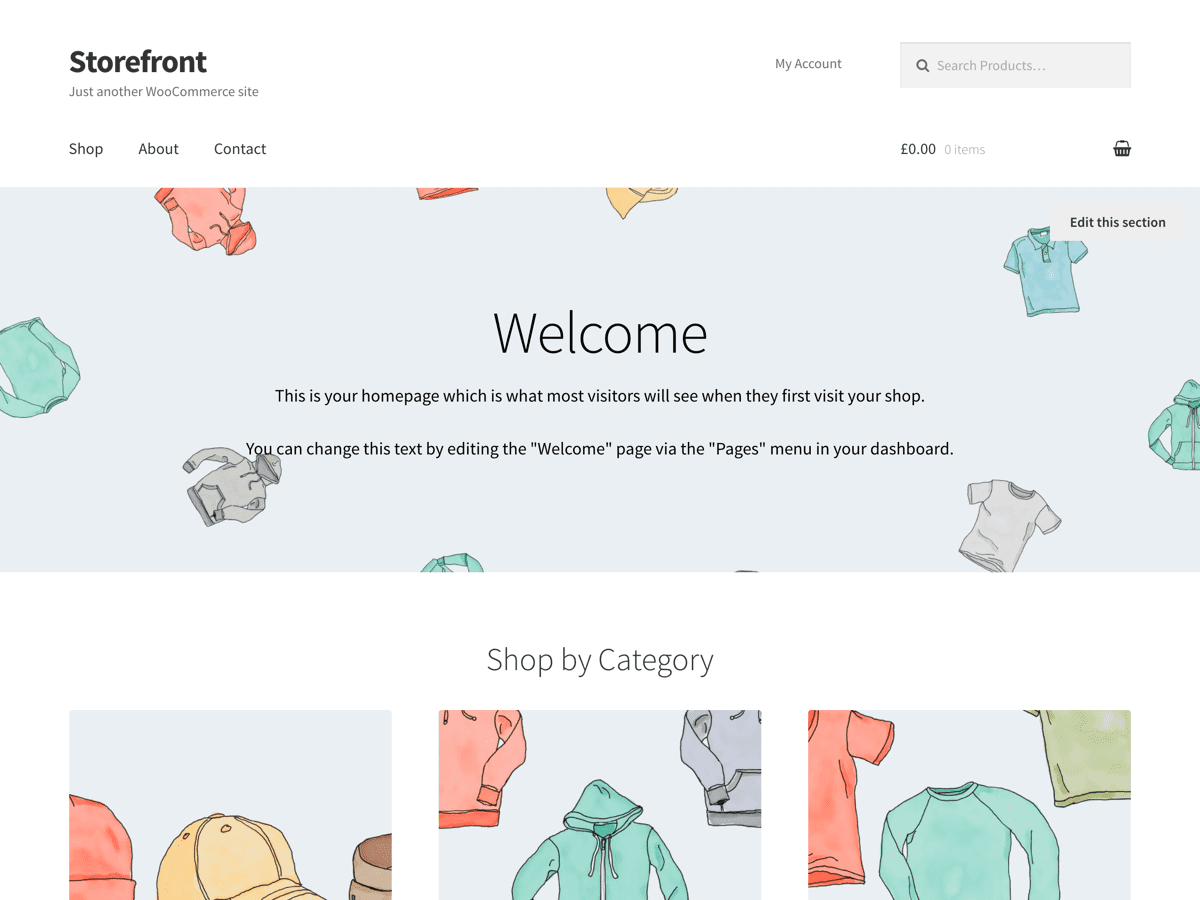
After activation, go to Appearance > Customize to adjust colors, fonts, layouts, and more. Many popular themes like Astra, Kadence, and OceanWP offer extensive customization options.
Step 4: Import Demo Content
Many themes come with starter templates or demo content. Look for the theme’s demo import feature under Appearance or in a dedicated settings panel.
Step 5: Add Plugins
Enhance your site with essential WordPress plugins for SEO, security, forms, and performance.
Tips for a Successful Installation
- Use a child theme for custom code modifications
- Test your theme on a staging site first
- Check for plugin compatibility after activation
- Optimize images and enable caching for speed